


A successful home renovation in the UAE is not just about choosing marble, paint colors, or new cabinetry. It is a sequence of decisions that must fit your property type, building rules, climate, budget, and lifestyle. When that sequence is wrong, owners often face delayed approvals, rework, surprise costs, and finishes that do not perform well in heat, humidity, or heavy daily use.
Whether you are upgrading a Dubai villa, remodeling an apartment, or modernizing a family home in Abu Dhabi, Sharjah, or another emirate, the core process is similar. You need a clear brief, a realistic budget, the right approvals, a qualified renovation team, and quality checks before handover.
The steps below give UAE homeowners a practical roadmap from first idea to final snagging, with special attention to the rules and site conditions that matter locally.
Step 1: Define what the renovation must achieve
Before you speak to contractors or start browsing finishes, define the purpose of the renovation. A home renovation can solve many different problems, and each goal leads to different design, budget, and technical decisions.
For example, a villa renovation focused on resale value may prioritize facade upgrades, kitchen modernization, flooring, bathrooms, and landscaping. A family home renovation may focus more on storage, better room flow, kid-friendly materials, privacy, and outdoor living. An apartment renovation may be about maximizing space, improving lighting, upgrading bathrooms, and refreshing built-in wardrobes.
Write a short renovation brief that explains:
- Which rooms or areas need work
- What problems you want to solve
- What must stay unchanged
- Your preferred style and finish level
- Your ideal start and completion timing
- Any community or building restrictions you already know
This brief does not need to be perfect, but it keeps early conversations focused. If you are planning a full property upgrade, Renovate UAE's guide to entire home renovation planning tips can help you organize priorities before the site visit.
Step 2: Inspect the property before finalizing the scope
Many renovation mistakes happen because owners plan only around visible finishes. In the UAE, the hidden condition of the property can be just as important as the design.
Older villas may have waterproofing issues, outdated electrical distribution, inefficient AC ducting, damaged drainage lines, or uneven flooring. Apartments may have limitations around wet area relocation, ceiling height, riser access, and service corridors. Commercial units may require additional attention to fire safety, accessibility, and mechanical systems.
A proper inspection should cover the structure, walls, ceilings, windows, doors, AC system, electrical load, plumbing lines, drainage, waterproofing, and signs of moisture. This is especially important before bathroom and kitchen upgrades because leaks and poor waterproofing can create expensive damage later.
The outcome of this inspection should be a scope that separates cosmetic upgrades from essential technical work. If your budget is fixed, prioritize repairs that protect the building first, then invest in visible finishes.
Step 3: Build a realistic UAE renovation budget
A renovation budget should include more than the contractor's headline quotation. UAE homeowners also need to account for approval fees, building deposits, temporary accommodation if needed, material upgrades, delivery delays, and contingency.
For most projects, it is wise to keep a contingency allowance for unexpected site conditions. This is not because something will always go wrong, but because hidden defects often appear only after demolition or opening walls and ceilings.
Here is a simple way to think about the main cost categories:
| Budget category | What it usually includes | Why it matters |
|---|---|---|
| Design and planning | Layouts, specifications, material selection | Reduces guesswork and change orders |
| Authority and building approvals | NOCs, permits, community approvals, deposits | Prevents work stoppages and penalties |
| Civil and MEP work | Demolition, walls, flooring base, electrical, plumbing, AC coordination | Forms the technical backbone of the renovation |
| Finishes and fixtures | Tiles, sanitaryware, lights, paint, joinery, doors, hardware | Defines the look, durability, and user experience |
| Contingency | Unplanned repairs, upgrades, site conditions | Protects the budget when surprises appear |
If you are trying to estimate the size of your investment before requesting quotations, this 2026 house renovation cost guide for the UAE gives a useful starting point for understanding how pricing can vary by property type, scope, and finish level.
Step 4: Check approvals before work begins
Renovation approvals in the UAE depend on your emirate, property type, community, and scope of work. A villa in a master-planned community, an apartment in a tower, and a commercial unit in a free zone may all follow different approval paths.
In Dubai, requirements may involve the relevant municipality, master developer, building management, owners association, or free zone authority. In other emirates, local municipality and utility requirements may apply. For major works, you may also need review related to structural changes, fire safety, drainage, electrical load, or AC modifications.
Common approval-related items include:
- No-objection certificates from the developer or building management
- Work permits for contractors and site access
- Drawings for layout changes or MEP modifications
- Service elevator booking and delivery timing
- Waste disposal rules and skip placement
- Noise restrictions and permitted working hours
Do not assume that interior work is automatically approval-free. Even if you are not changing the structure, building management may still require a method statement, contractor trade license, insurance documents, and a refundable deposit. Starting without approval can lead to fines, delays, or forced reinstatement.
Step 5: Choose the right renovation contractor
The right contractor for a home renovation is not simply the lowest bidder. You need a team that understands UAE authority requirements, building management coordination, climate-appropriate materials, luxury finishes, and the sequence of civil, electrical, plumbing, AC, carpentry, painting, and finishing work.
When comparing contractors, ask for a detailed scope, not just a lump-sum price. The quotation should clarify materials, brands or specifications, labor scope, exclusions, timeline, payment stages, and warranty terms. If two quotations are far apart, compare the details before assuming one contractor is overpriced or the other is a bargain.
Look for signs of a professional process: a site visit, measured assessment, practical recommendations, clear communication, and willingness to explain risks. For a deeper contractor selection framework, see this guide on how to hire residential renovation contractors wisely.
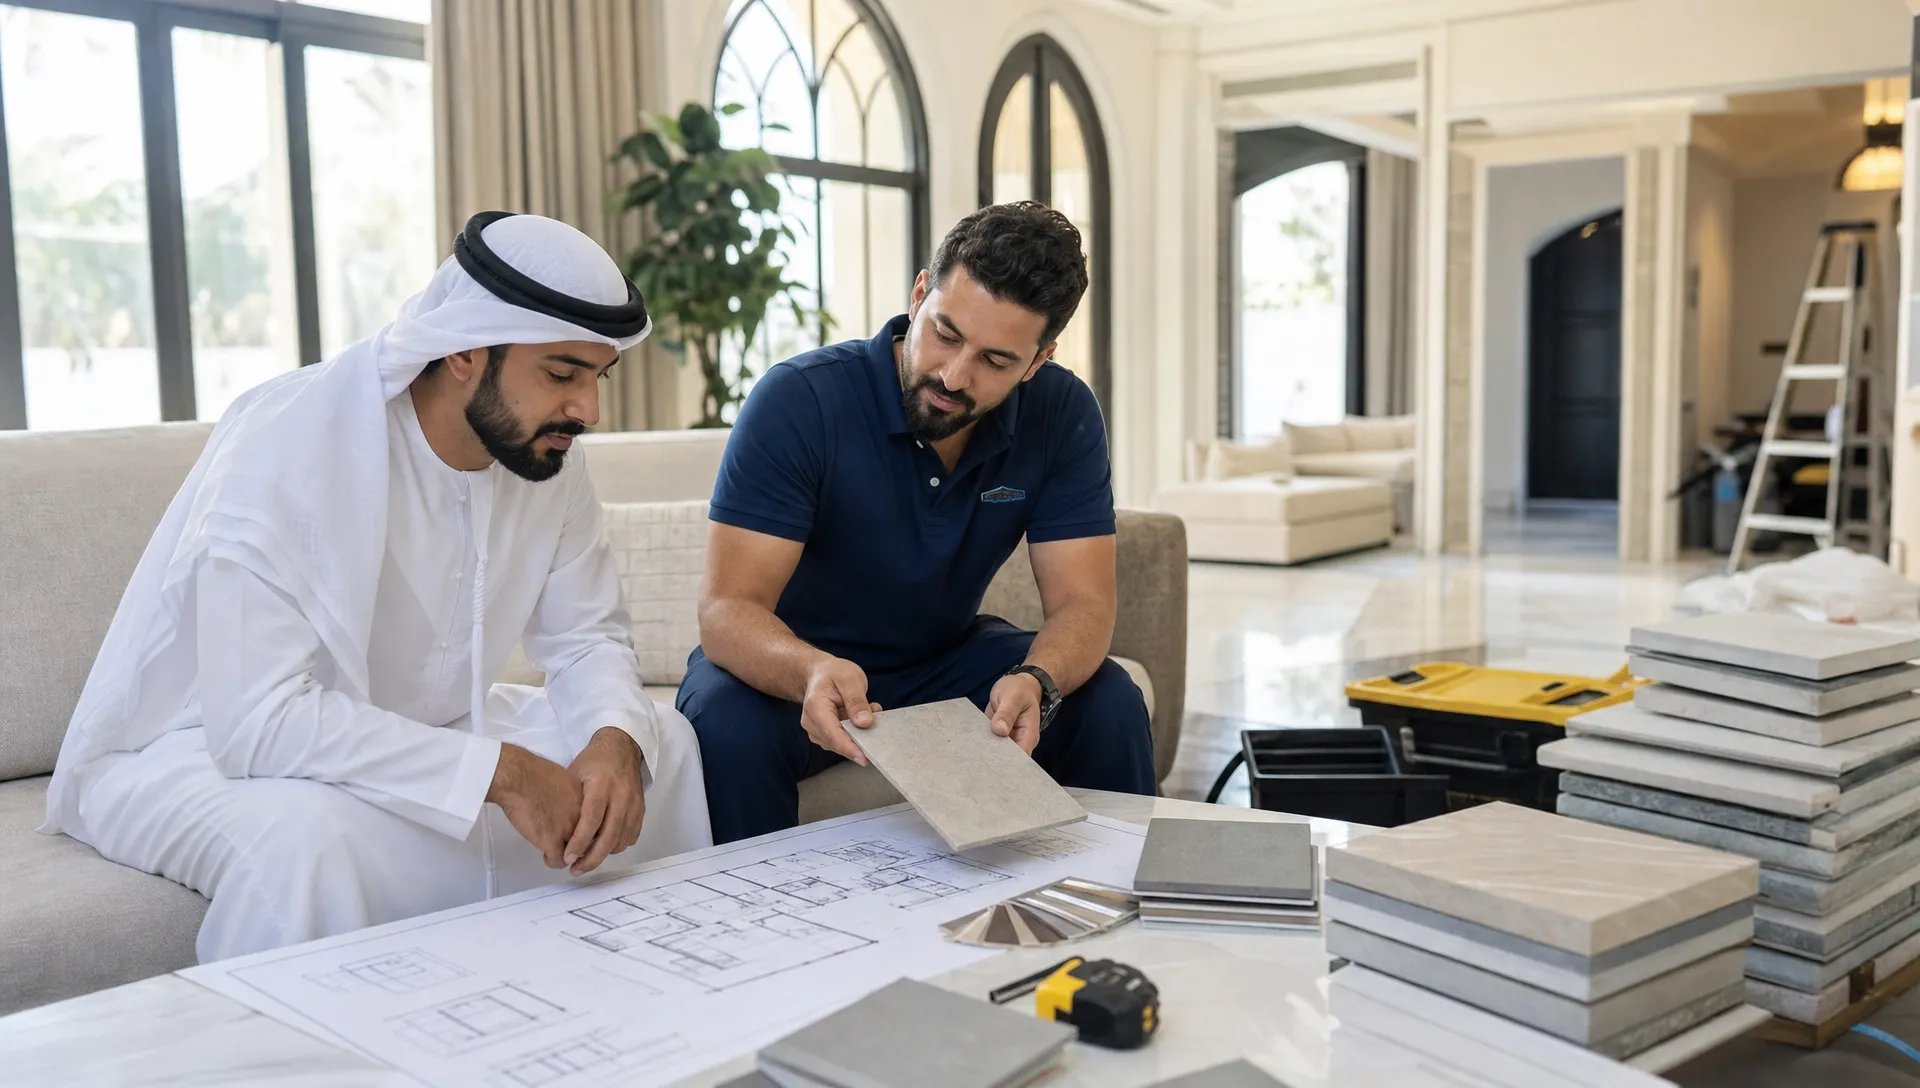
Step 6: Finalize the design and specifications before demolition
Changing your mind during renovation is one of the fastest ways to increase costs and extend the timeline. Some changes are unavoidable, but many can be prevented by finalizing specifications before work begins.
At minimum, decide on floor finishes, wall finishes, sanitaryware, kitchen layout, cabinet finishes, countertop materials, lighting types, switch locations, wardrobe layouts, door hardware, paint colors, and outdoor finishes where relevant.
This is especially important for imported materials or custom joinery. If tiles, fixtures, or hardware have long lead times, your contractor needs to know early. A missing shower mixer or delayed countertop can hold back multiple trades.
For UAE homes, material selection should balance beauty with performance. Glossy finishes may look elegant but show dust and fingerprints. Natural stone can be luxurious but may need sealing and maintenance. Outdoor materials must handle heat, UV exposure, and sand. Bathroom materials must be chosen with waterproofing and slip resistance in mind.
Step 7: Plan the site setup and living arrangements
Renovation is not only a design project. It is also a temporary disruption to daily life. Before work starts, decide whether you will stay in the home, move out completely, or renovate in phases.
For apartments, site logistics are often the biggest challenge. Contractors may need to use service elevators, protect common corridors, follow delivery windows, and coordinate with security. For villas, access may be easier, but dust control, neighbor communication, skip placement, and landscaping protection still matter.
A good site setup plan should include protection for existing areas, safe storage of materials, waste removal, temporary utilities if required, and clear access routes. If you are staying in the property, create a phasing plan that keeps at least one bathroom, sleeping area, and basic cooking option functional whenever possible.
Owners should also discuss Ramadan schedules, summer working conditions, and community noise rules. These factors can affect delivery times, labor productivity, and daily site hours.
Step 8: Start with demolition, civil work, and MEP rough-ins
Once approvals, materials, and site protection are ready, the physical renovation usually begins with demolition and removal. This must be controlled carefully. Unplanned demolition can damage hidden pipes, electrical conduits, waterproofing, or structural elements.
After demolition, civil works and MEP rough-ins follow. MEP means mechanical, electrical, and plumbing. This stage includes pipe routing, drainage adjustments, electrical wiring, AC coordination, wall preparation, ceiling framing, and any changes to room layout.
This phase may not look exciting, but it determines how well the finished home functions. A beautiful bathroom with poor drainage or weak waterproofing will become a problem quickly. A luxury kitchen with insufficient sockets or weak ventilation will feel frustrating in daily use.
Before closing walls or ceilings, ask for checks on pipe pressure, drainage slope, electrical points, AC access, and waterproofing preparation. Once finishes are installed, fixing hidden mistakes becomes much more expensive.
Step 9: Give waterproofing, AC, and ventilation extra attention
UAE homes face heat, humidity, dust, and high AC use. That means some technical details deserve more attention than they might in cooler climates.
Bathroom and kitchen waterproofing should be applied correctly, tested where appropriate, and protected before tiling. Balconies, roof terraces, and outdoor wet areas also need careful detailing because water damage can travel beyond the visible surface.
AC performance is another key issue. Renovating walls, ceilings, windows, or room layouts can change cooling requirements. If airflow is poor, a newly renovated home may still feel uncomfortable. Check diffuser locations, return air paths, access panels, insulation, and thermostat positions before ceiling closure.
Ventilation also matters in kitchens, bathrooms, laundry areas, and wardrobes. Good ventilation helps reduce odors, moisture buildup, and mold risk. This is particularly important in tightly sealed modern homes where AC runs for much of the year.
Step 10: Manage finishes in the correct order
The finishing stage is where the renovation starts to feel real, but it still needs careful sequencing. Flooring, tiles, ceilings, painting, joinery, lighting, doors, sanitaryware, appliances, and final fixtures must be coordinated so trades do not damage each other's work.
For example, painting too early may lead to touch-ups after joinery installation. Installing delicate flooring before heavy works are complete can cause scratches. Fitting sanitaryware before final tile cleaning can create avoidable damage.
A typical finishing sequence may include ceiling closure, tile installation, flooring, first painting coats, joinery installation, countertop installation, final electrical and plumbing fixtures, final paint touch-ups, deep cleaning, and snagging. The exact order depends on the scope, but the principle is the same: protect completed work and avoid rework.
During this stage, owners should avoid adding last-minute design changes unless they are truly necessary. Even small changes can affect multiple trades, especially in kitchens, bathrooms, and custom carpentry.
Step 11: Complete snagging before final handover
Snagging is the final inspection process where you identify defects, incomplete items, or quality issues before closing the project. It should be detailed, documented, and done in good lighting.
Check walls, paint, tiles, grout, silicone, doors, handles, cabinet alignment, drawers, lighting, sockets, water pressure, drainage, AC airflow, appliance installation, glass, mirrors, flooring transitions, and outdoor works. Test everything you will use daily.
A practical snag list should include the room, issue, photo, and required correction. Avoid vague notes such as "fix bathroom". Instead, write specific items such as "adjust shower screen seal in master bathroom" or "repair paint chip on living room wall near window".
Do not rush handover because the home looks nearly complete. The last 5 percent of a renovation often determines how satisfied you feel after moving back in.
Step 12: Keep a maintenance file after the renovation
Once the project is finished, keep a digital file with warranties, paint codes, tile references, appliance manuals, waterproofing details, electrical layouts, plumbing notes, and contractor contact information. This saves time if you need future repairs, additions, or resale documentation.
For villa owners, include landscaping irrigation details, outdoor lighting references, pool or water feature information if applicable, and exterior paint specifications. For apartment owners, keep building approvals and NOCs in case the management requests records later.
A well-documented renovation protects your investment long after the contractors leave.
Common home renovation mistakes UAE owners should avoid
Even well-funded renovations can go wrong when the process is rushed. The most common problems are usually preventable with better planning and communication.
Avoid these mistakes:
- Starting work before approvals are confirmed
- Choosing finishes before checking technical feasibility
- Comparing contractor quotes without comparing scope
- Underestimating AC, waterproofing, and ventilation requirements
- Buying materials without confirming quantities and lead times
- Making frequent changes after demolition begins
- Skipping snagging because the move-in date is close
The goal is not to make the project complicated. The goal is to make decisions in the right order so your renovation remains controlled, transparent, and aligned with your expectations.
Frequently Asked Questions
How long does a home renovation take in the UAE? The timeline depends on the property size, approval requirements, material availability, and scope of work. A simple apartment refresh may take a few weeks, while a full villa renovation can take several months. Your contractor should provide a phased schedule after the site visit and scope confirmation.
Do I need approvals for a small apartment renovation? Often, yes. Even small works may require building management approval, contractor access permits, elevator booking, and deposits. Wet area changes, electrical work, plumbing changes, and noisy demolition are especially likely to require approval.
What should I renovate first in an older UAE villa? Start with the technical condition of the property. Check waterproofing, plumbing, electrical systems, AC performance, drainage, windows, and structural concerns before investing heavily in decorative finishes.
How can I reduce renovation delays? Finalize the scope, approvals, materials, and payment schedule before work starts. Delays often come from late design decisions, unavailable materials, approval issues, and changes made after demolition.
Is it better to renovate the full home at once or in phases? Full renovation can be more efficient when the home is vacant and the scope affects multiple systems. Phased renovation may be better if you need to live in the property or spread costs over time. The best option depends on your timeline, budget, and disruption tolerance.
Plan your UAE home renovation with confidence
A well-managed renovation follows a clear path: define the goal, inspect the property, set the budget, secure approvals, choose the right contractor, finalize materials, manage site work, check quality, and complete snagging before handover.
Renovate UAE provides customized villa, home, apartment, and commercial renovation solutions across the UAE, including interior design, kitchen and bathroom upgrades, civil work, electrical and plumbing services, carpentry, painting, landscaping, and modern finishing. If you are ready to start, book a free site visit and estimate with Renovate UAE and turn your renovation plan into a clear, buildable project.